Choosing rechargeable bike tail lights is more important than chasing the brightest product on a sales page. A reliable rear light should help drivers notice your position, movement, and distance in changing conditions. The World Health Organization’s Global Status Report on Road Safety 2023 identifies cyclists as vulnerable road users facing serious traffic risks. In the United States, NHTSA’s Traffic Safety Facts: 2022 recorded 1,105 bicyclist fatalities in traffic crashes. These figures make visibility a practical safety decision, not merely an accessory preference.
This guide presents seven useful tips for selecting rechargeable bike tail lights. It examines brightness, flash patterns, battery capacity, charging time, weather resistance, mounting security, and side visibility. A light may advertise 100 lumens, yet perform poorly behind a wide saddlebag. A small lens can disappear in heavy rain. A loose rubber strap can tilt the beam toward the pavement. Details matter. PeopleForBikes’ 2024 U.S. Bicycling Participation Study also reflects how varied riding has become, from short urban trips to longer recreational routes. One design cannot suit every rider.
Think beyond the number.
A dependable light should be tested in realistic conditions. Check whether its beam remains visible from an angle, whether the battery indicator is understandable, and whether charging uses a common cable. I would not assume every “waterproof” claim means equal protection; product testing methods can differ. The seven tips ahead encourage careful comparison, practical inspection, and a little skepticism. No tail light removes every road hazard. However, choosing rechargeable bike tail lights thoughtfully can improve visibility and reduce avoidable equipment failures.
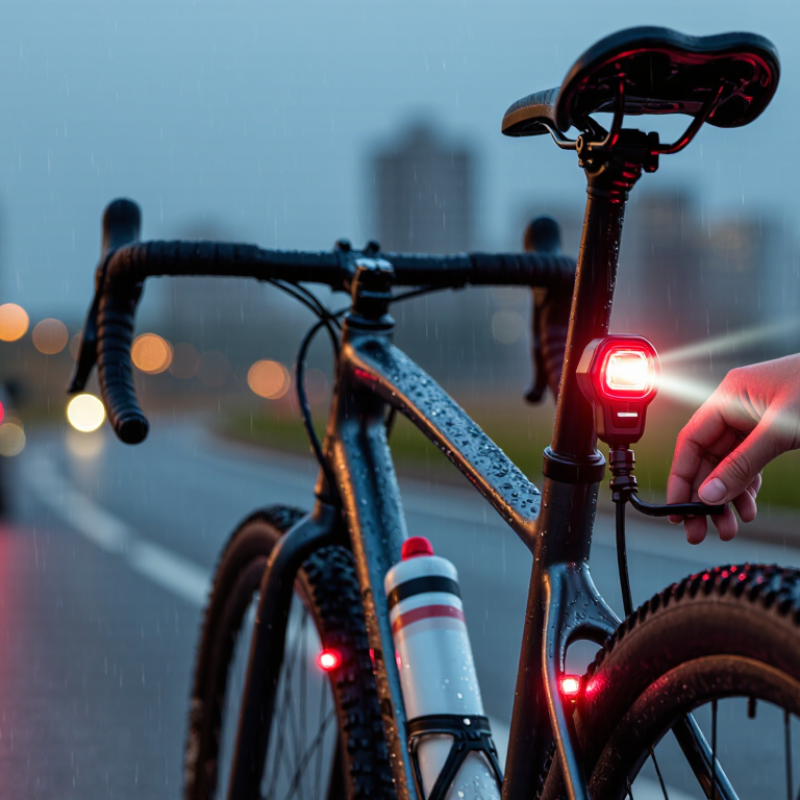
Choosing a rechargeable bike tail light starts with brightness, but lumens alone can mislead. For city riding, a steady light around 20 to 50 lumens may suit well-lit streets. Dark rural roads require stronger output and a wider beam. Check the stated visibility range, then test it from a driver’s perspective. A light visible from 300 meters is useful only when its beam reaches that distance.
Look for side visibility, especially at junctions and driveways. Wide-angle lenses can make you noticeable when traffic approaches from behind. Flashing modes often attract attention, but extremely rapid flashes may reduce distance judgment. Use a steady mode in busy areas when appropriate. Battery runtime matters too. A high-output setting may last only a few hours. Keep a lower setting for longer rides. Recharge before every night trip.
Mounting affects real performance. The light should sit level, remain clean, and stay fixed over rough pavement. Water resistance helps during sudden rain, though charging ports still need careful closure. I once trusted a bright light with a loose mount. It pointed toward the road after several bumps. That assumption was wrong. Test the light outdoors, from several angles, and at the actual riding height. Check whether nearby lamps wash out its beam. Replace poor positioning, not just the light. Safety equipment needs honest testing.
| Tip | Selection Dimension | Practical Recommendation | Why It Matters | What to Check Before Buying |
|---|---|---|---|---|
| 1 | Brightness and visibility range | Choose approximately 20–80 lumens for urban riding and 80–150 lumens for darker roads or higher-speed routes. Look for visibility from at least 300–500 feet (90–150 meters). | A tail light should make your position recognizable to approaching drivers without creating excessive glare or distraction. | Review the measured or stated lumen output, beam pattern, and visibility distance rather than relying only on marketing terms such as “ultra-bright.” |
| 2 | Flash patterns | Select a light with at least one steady mode and one daytime flashing or pulsing mode. A wide-angle or side-emitting design is an added advantage. | Steady light can help at night, while flashing modes can improve attention during daylight. Side visibility helps at intersections. | Confirm that the controls are easy to operate and that the flashing modes comply with local cycling regulations. |
| 3 | Battery runtime | Aim for at least 4–8 hours in the mode you expect to use most often. Longer runtime is useful for commuting, touring, and winter conditions. | Runtime determines how often the light needs charging and whether it can cover a full trip with a safety margin. | Compare runtime by brightness and flash mode. Maximum runtime usually applies to the lowest-power setting, not the brightest mode. |
| 4 | Charging method and battery indicator | Prefer a standard USB-C charging port and a clear battery indicator. A full charge commonly takes about 1.5–3 hours, depending on battery capacity and charger. | A common charging connector is convenient, while an indicator reduces the risk of starting a ride with an almost empty battery. | Look for charge-status information, overcharge protection, a secure port cover, and compatibility with the charging equipment you already use. |
| 5 | Weather resistance | Choose a housing rated at least IPX4 for rain exposure; IPX5 or higher offers stronger protection against water jets when conditions are more demanding. | Rain, road spray, and condensation can damage the electronics or make the light unreliable if the enclosure is not adequately sealed. | Verify the exact IP rating. Water resistance does not necessarily mean the light is designed for submersion or pressure washing. |
| 6 | Mounting security and compatibility | Use a tool-free mount that fits the seat post or rear rack securely and includes an adjustable silicone strap or rigid bracket. | A light that shifts, points toward the ground, or falls off will not provide consistent visibility. | Measure the seat-post diameter, check rack compatibility, and test whether the mount remains stable on rough surfaces. |
| 7 | Beam angle, size, and everyday usability | Select a compact light with a horizontal beam angle of roughly 180 degrees or more when possible, plus a large, easy-to-press control button. | A broad beam improves recognition from oblique angles, while simple controls make mode changes safer when wearing gloves. | Check the rear and side lens design, button accessibility, weight, visibility of the charging port, and whether the light remains visible when a bag or rack is fitted. |
Practical ranges are general selection guidelines. Actual visibility and runtime vary with road lighting, weather, mounting position, battery condition, operating mode, and the rider’s surroundings.
Well-lit city streets may need about 20 to 50 lumens. Dark rural roads usually need stronger output and a wider beam. Check the real visibility range, not lumens alone. Brighter is not always better.
Drivers and cyclists may approach from driveways or junctions. A wide-angle lens can keep the light visible from the side. Test it from several angles. Directly behind is not enough.
A steady mode can make your position easier to judge in busy areas. A daytime flash may attract attention on open roads. Extremely rapid flashes can affect distance judgment. Use carefully.
Compare runtime at the brightest useful setting. High output may last only a few hours. Cold weather and long routes can reduce performance. Recharge before every night trip.
It should stay level and fixed over rough pavement. Test the mount over a pothole before riding at night. A loose light may point toward the road. That happened to me.
Inspect the rubber seal around the charging port. Close the cover firmly after charging. Look for a protected lens and corrosion-resistant contacts. Water resistance is helpful, not magical.
A clear red charging light and green full-charge light are helpful. A low-battery warning can prevent surprises. Some indicators remain vague. Check the actual runtime yourself.
Yes. Local requirements may cover red rear lights, flashing modes, visibility distance, or reflectors. Rules differ between cities and countries. Check an official transport or road-safety website before riding after dark.
Choosing the right rechargeable bike tail lights starts with finding a balance between brightness and visibility range. A good light should make you noticeable in traffic without creating excessive glare for others. Compare battery capacity, expected runtime, and charging speed to ensure the light can support your regular rides and be recharged conveniently. It is also important to check whether the mounting system fits your seat post, saddle, rack, or other bike components securely.
Before purchasing, evaluate weather resistance and overall durability, especially if you often ride in rain or on rough roads. Simple controls, dependable attachment, and easy cleaning can make daily use more convenient. Safety features such as multiple lighting modes, flashing patterns, low-battery warnings, and clear charging indicators may improve visibility and help prevent unexpected power loss. Finally, review the road-safety requirements in your area so your rechargeable bike tail lights are used in a compliant and responsible way.